How to install WordPress on DirectAdmin?
Table of Content
Websites built with WordPress content management system or other methods need to be installed on a server or host to manage information. Various servers for WordPress help administrators to install it on the server easily. DirectAdmin is one of the most popular management panels used to manage servers or hosts. Next, we will help you to install your WordPress website by installing WordPress on DirectAdmin.
If you are using cPanel, read the article on installing WordPress on cPanel.
If you are using Webmin, read the article on installing WordPress on Webmin.
If you want to use Macintosh, read the article on installing WordPress on Mac.
If you want to use localhost or your own computer, read the article on installing WordPress on localhost.
What is DirectAdmin?
DirectAdmin can be introduced as a Linux host panel. DirectAdmin is more suitable for websites that are designed and implemented with Python, PHP and etc. For example, WordPress, which is implemented with PHP language, can be easily installed on DirectAdmin.
Advantages and disadvantages of DirectAdmin
Advantages of DirectAdmin:
- Being lightweight for the server
- Economical and cheap compared to cPanel
- Simplicity and easy user interface
- Appropriate speed
- High security
Disadvantages of DirectAdmin:
- Incompatibility with Windows host
- Few statistical populations of users
Installing WordPress on DirectAdmin
In total, installing WordPress on DirectAdmin takes about 15 minutes.
DirectAdmin has two versions, old and new, which have differences in appearance. You may find it difficult to find the word or part taught, so it is better to use the new version that is easier and better looking.
Download the latest version of WordPress
Download the latest version of WordPress here. Be sure to note that the update of the WordPress version plays a very important role in the security and preservation of your information because in the newer versions it has fixed the flaws and vulnerability.
Enter the DirectAdmin
In order to enter the DirectAdmin panel, you need to enter the “domain.com:2222” URLs. Just write your domain address instead of “domain.com”.
In addition, if your DNS is not set yet, you can use your server’s “xxx:2222” instead of the “domain.com”. Just enter your server IP instead of “xxx”.
Be careful that 2222 is the port number on which DirectAdmin is installed. By default, this port is set for DirectAdmin.
You can get the login information for DirectAdmin from your hosting.
When you enter the DirectAdmin panel, you need to enter your password and username. Note that you should not share your username and password with others. DirectAdmin username and password must remain confidential forever.
Creating a database on Direct dmin
In order to install WordPress on DirectAdmin, we need a database. After entering the panel, go to the MySQL Management section and create your database.
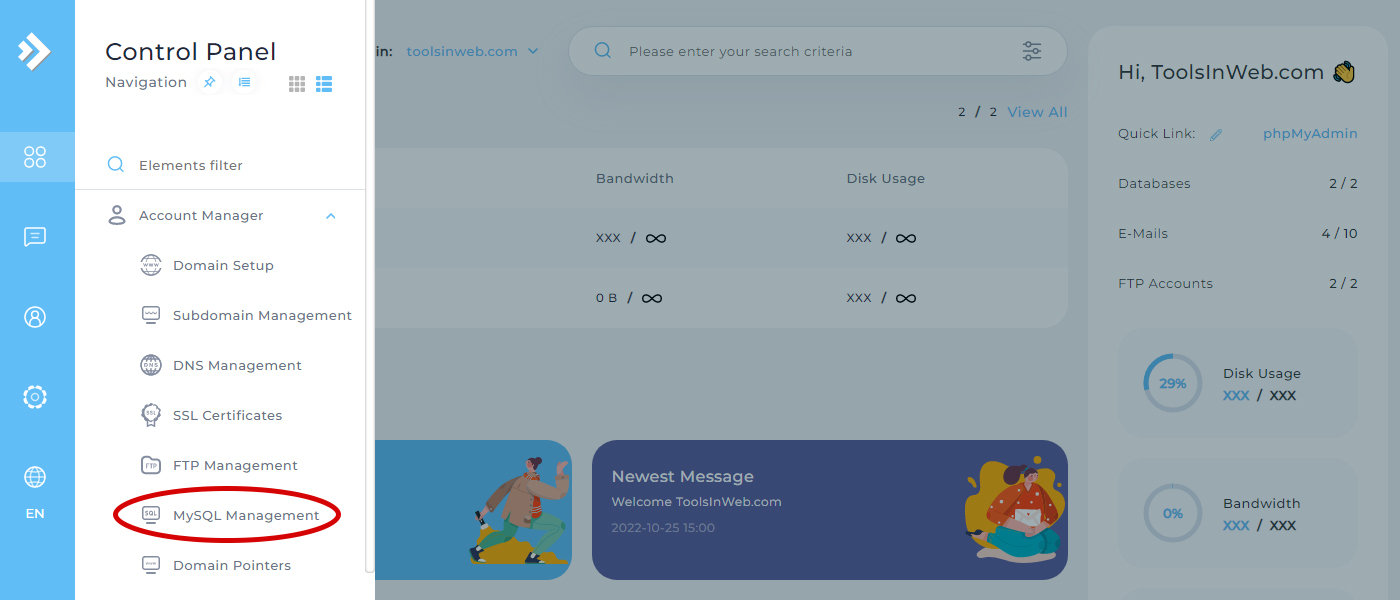
After that, select Create new database.
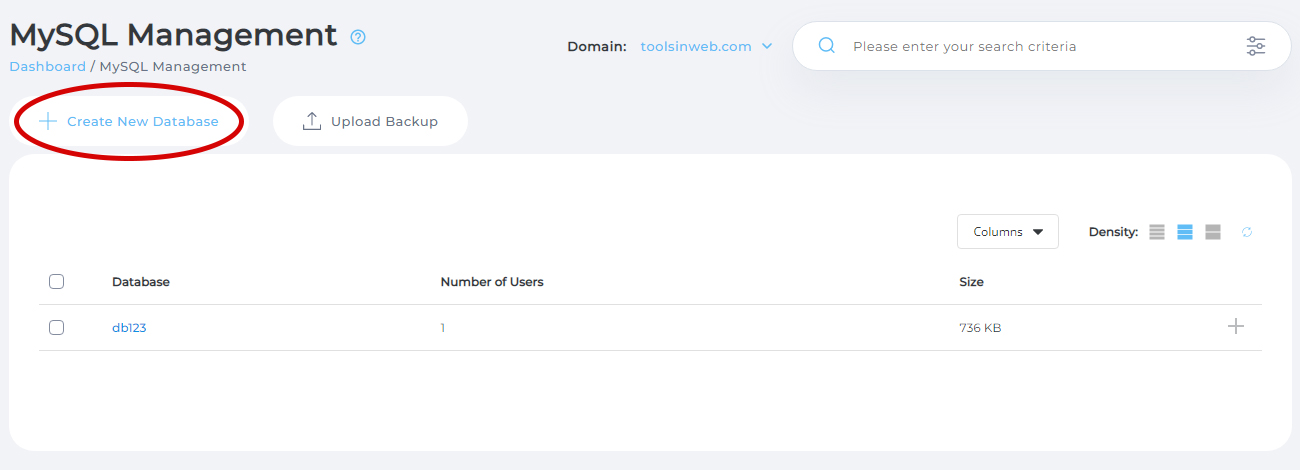
Fill in the displayed fields.
Write this information down somewhere like NotePad for later use.
Manage files in DirectAdmin
After creating the database and completing the previous step, go to the DirectAdmin section again. Enter the file section.
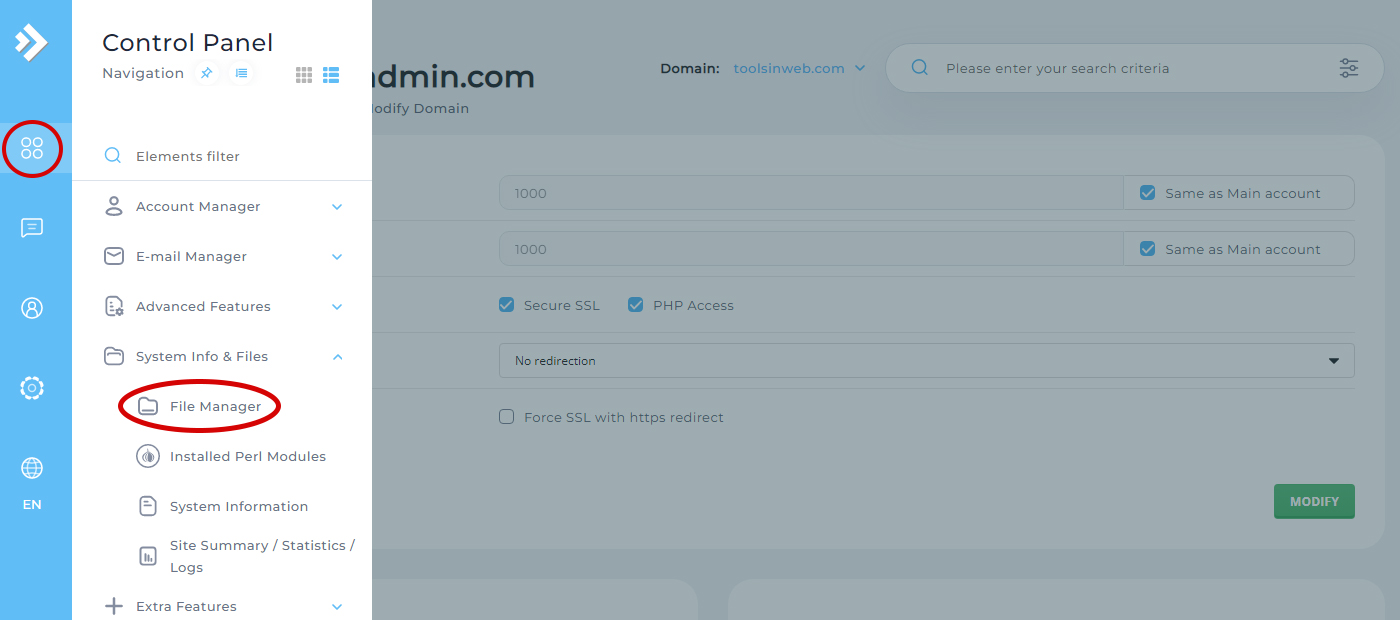
At this point, enter the Public_html folder. This folder shows all the content of your website.
Now, to upload your files in DirectAdmin, you need to click on the Upload Files to Current Directory option and upload the content of the WordPress file that you have already downloaded here.
If you want WordPress to be on your main domain, you should upload WordPress files to Public_html, but if you want WordPress to be on a subfolder (for example, domain.com/weblog), you should create a folder with your desired name and upload WordPress files to that folder.
Go to the WordPress folder, select all the files, select the move option, and move them to the Public_html folder.
Now you can delete the WordPress zip file from your host.
Install WordPress in DirectAdmin
Now that you have done all the steps, entered your site address and install WordPress.
First, you need to choose the language of your site.
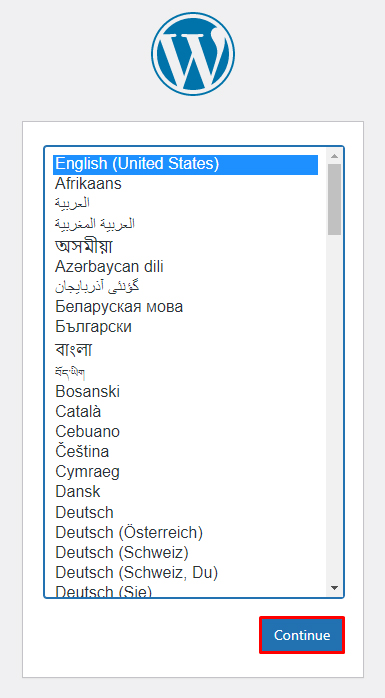
Now click on the “Let’s go!” button.
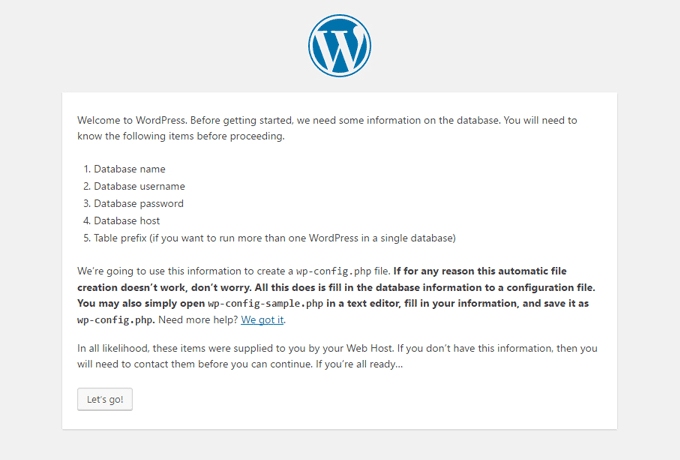
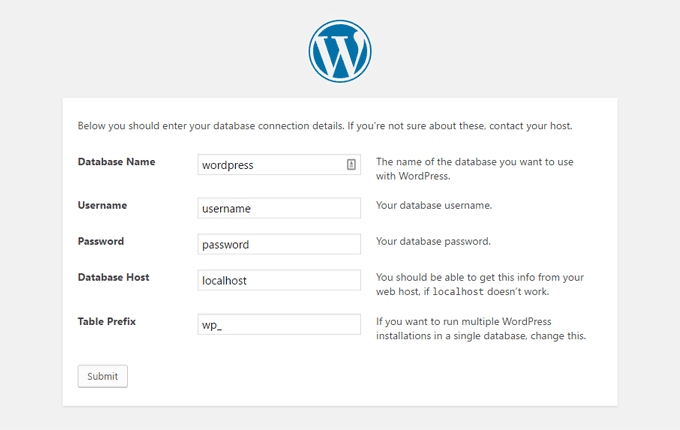
In this step, enter the database information, username and password that you created earlier. Then click on the submit button.
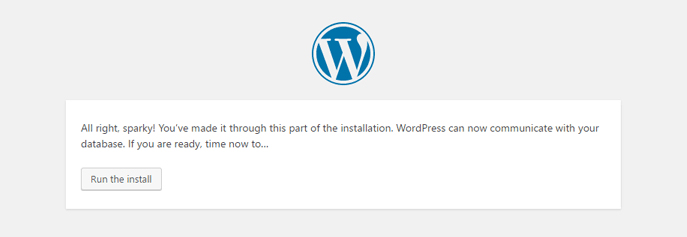
Now click on the “Run the install” button.
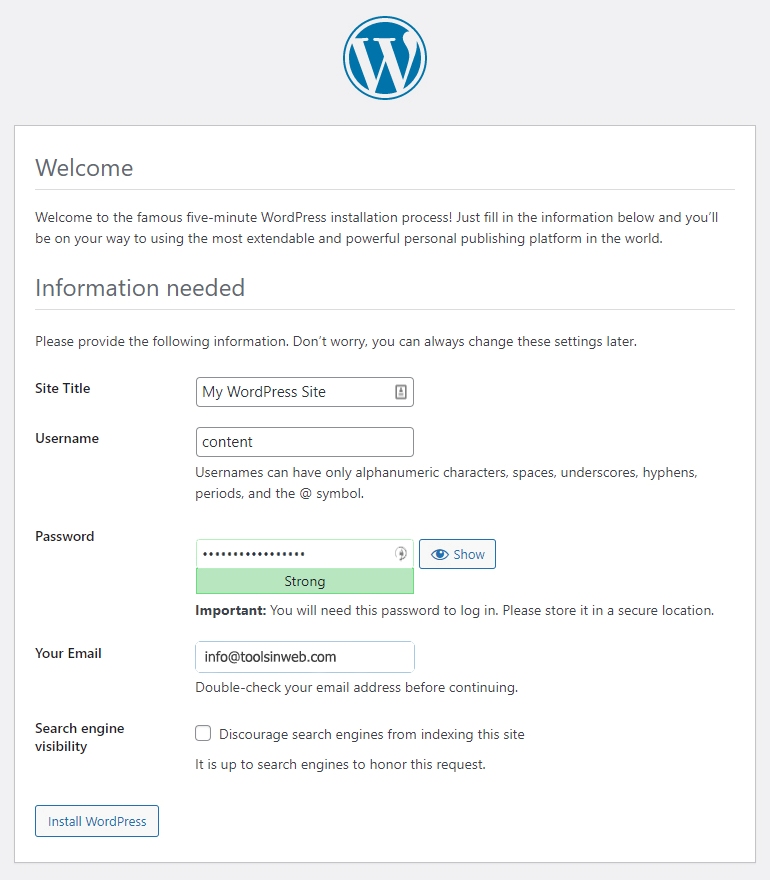
Now enter the final information for the site and the management panel.
If you do not want your website to be registered in search engines such as Google, check the “Search engines” option.
Congratulations. Your WordPress has been successfully installed.
The installation of WordPress on DirectAdmin is complete. Now you can enter your WordPress admin section by adding /wp-admin to the end of your domain.
